Sprouted Grain Bread — What Changes When a Seed Begins to Grow?
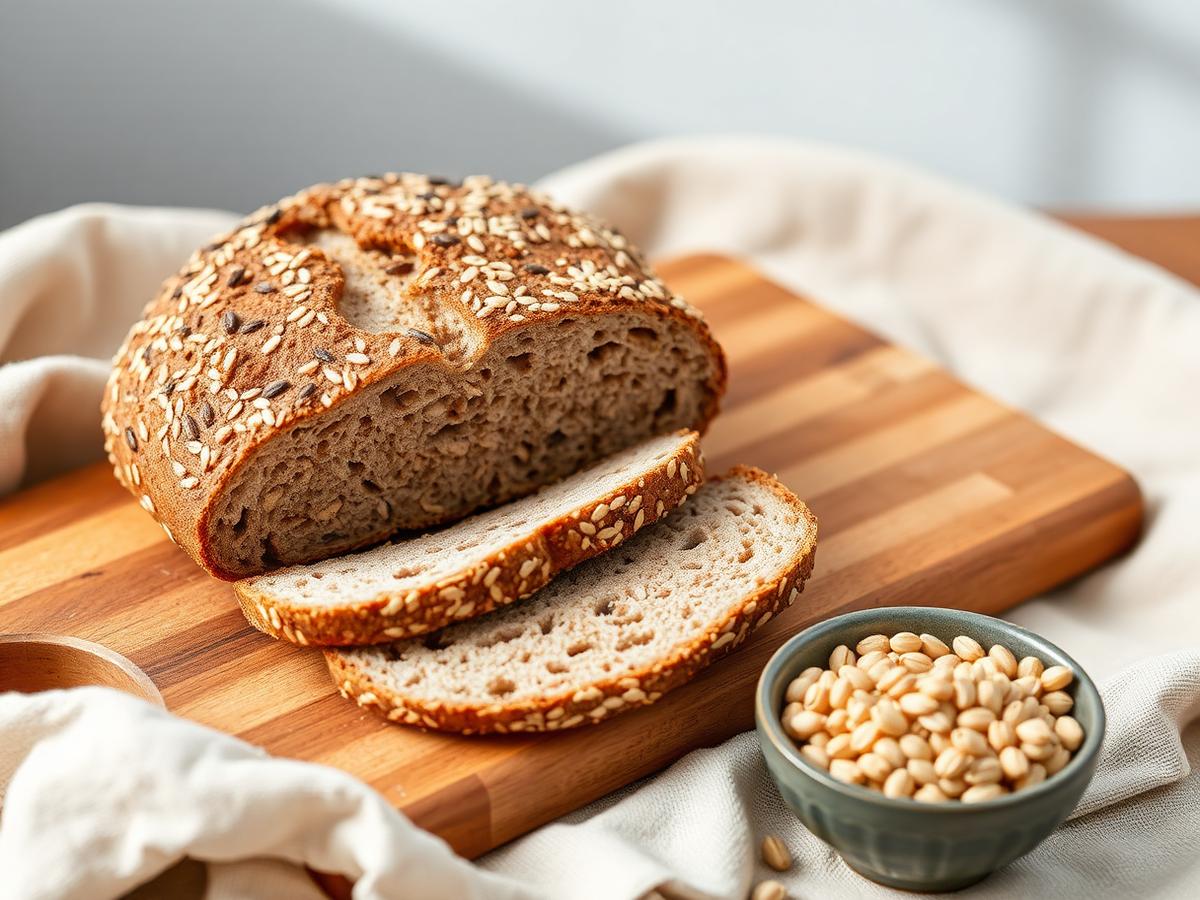
Germination wakes up a grain's enzymes and rewrites its starches. Here's what actually happens, and a reliable loaf to bake with the result.
A dry grain is a seed on pause: an embryo, a dense starch reserve and a protective bran layer, all waiting for water. Add moisture and warmth and germination begins — the seed stops being storage and starts being a plant.
The first thing to wake up is the enzyme system. Amylases begin cutting long starch chains into shorter sugars the seedling can use. Proteases start breaking storage proteins into amino acids. Phytase becomes active and degrades some of the phytic acid that binds minerals in the bran.
The starch change is the one you taste. Where dry flour is starchy and flat, sprouted grain is noticeably sweeter, because some of that starch has already been converted to maltose and glucose. This is the same principle as malting in brewing, stopped much earlier.
Flavour follows: a mild sweetness, a nutty, slightly grassy note, and less of the bitterness that whole grains can carry. Loaves brown faster and deeper because there is more free sugar available for the Maillard reaction — watch the crust.
Texture is where sprouted grains catch people out. Active amylase in the dough keeps working on starch during the rise and the first minutes of baking, which can leave a crumb that is moist and slightly gummy. Two defences: stop sprouting early, when tails are only a couple of millimetres, and blend sprouted mash with ordinary flour rather than using it alone.
Nutritionally, sprouting shifts things modestly rather than transforming them. Phytic acid falls, which may improve absorption of iron and zinc; some B vitamins increase; protein is partly pre-digested into free amino acids. Sprouted bread is still bread — it is not a different category of food, and claims that it is tend to outrun the evidence.
For baking, treat sprouted mash as a wet, enzymatically lively ingredient. Somewhere between 30% and 50% of total grain weight is the practical sweet spot: enough to taste, not enough to collapse the structure. Reduce added water accordingly, and give the loaf a slightly shorter final prove than you would a standard wholemeal.
From seed to bread
- Dry Grain
- Soaking
- Germination
- Sprouted Grain
- Dough
- Bread
Recipe card
How to Make It
Ingredients
- 300 g whole wheat or spelt berries, for sprouting
- 350 g strong wholemeal flour
- 300 ml warm water (adjust to the dough)
- 7 g instant dried yeast (or 150 g active sourdough starter)
- 10 g fine sea salt
- 1 tbsp olive oil
- 1 tbsp honey or malt extract
- Optional: 2 tbsp mixed seeds for the crust
Equipment
- Large jar or bowl for sprouting, plus a mesh lid or muslin
- Food processor or grinder
- Large mixing bowl and bench scraper
- 900 g loaf tin or banneton
- Dutch oven or baking stone (optional but better crust)
Method
- 1Scald the sprouting jar and its mesh lid with boiling water and wash your hands. Rinse the grains thoroughly, cover with cold water and soak 8-12 hours in a cool spot.
- 2Drain completely. Rinse with fresh cold water and drain at least twice a day, keeping the jar tilted so no water pools.
- 3After 24-48 hours the tails should be just visible — 2-3 mm at most. Stop there; longer sprouts turn the dough sweet and slack.
- 4Rinse a final time, drain very well, and pulse in a food processor into a coarse, slightly sticky mash. Use it the same day, or refrigerate it and use within 24 hours. Wash the bowl and blade straight afterwards, and do not taste the raw mash.
- 5Mix the mash with the flour, water, yeast, honey and oil. Rest 20 minutes, then add the salt and knead 8-10 minutes.
- 6Rise covered until nearly doubled, about 90 minutes at room temperature.
- 7Shape, place in the tin or banneton, and prove 45-60 minutes until springy.
- 8Bake at 220°C for 15 minutes, then 200°C for 30-35 minutes, until the base sounds hollow and the internal temperature reads 96-98°C.
- 9Cool completely on a rack before slicing — sprouted loaves are gummy if cut warm.
Allergen information
Contains gluten (wheat or spelt berries and wholemeal flour). Optional seed topping may include sesame; check the mix. Contains honey unless you use malt extract, so this loaf is not suitable for babies under 12 months or, with honey, for a vegan diet. Serving suggestions add milk (butter, cheese).
Storage
Keep cut-side down in a paper bag or bread box for 2-3 days. Sprouted loaves stale slightly faster than standard ones; slice and freeze what you will not eat within two days.
Serving ideas
- Toasted, with cultured butter and honey-preserved fruit.
- As the base for a sharp cheese and pickle sandwich.
- Cubed and roasted into croutons for a bean and kombu broth.
Ika's Realm notes
- Sprout tails longer than 3 mm mean too much enzyme activity — the crumb will be dense and sticky.
- Hydration varies with how wet your mash is; hold back 50 ml of water and add it only if needed.
- Sourdough works beautifully here and tempers the natural sweetness.
Key takeaways
- Germination activates enzymes that convert starch to sugar and reduce phytic acid.
- Stop at 2-3 mm tails — longer sprouting means a gummy crumb.
- Blend sprouted mash with regular flour and expect faster browning.
Enjoyed this?
Get the next one straight to your inbox.
Keep reading
Related articles
Explore more natural food, fermentation and wellness ideas from Ika’s Realm.

Oat Kvass — A Forgotten Fermented Drink Worth Rediscovering
Gently sour, faintly sweet and lightly fizzy: how to make a kvass-style oat ferment at home, and how to tell a good one from a bad one.
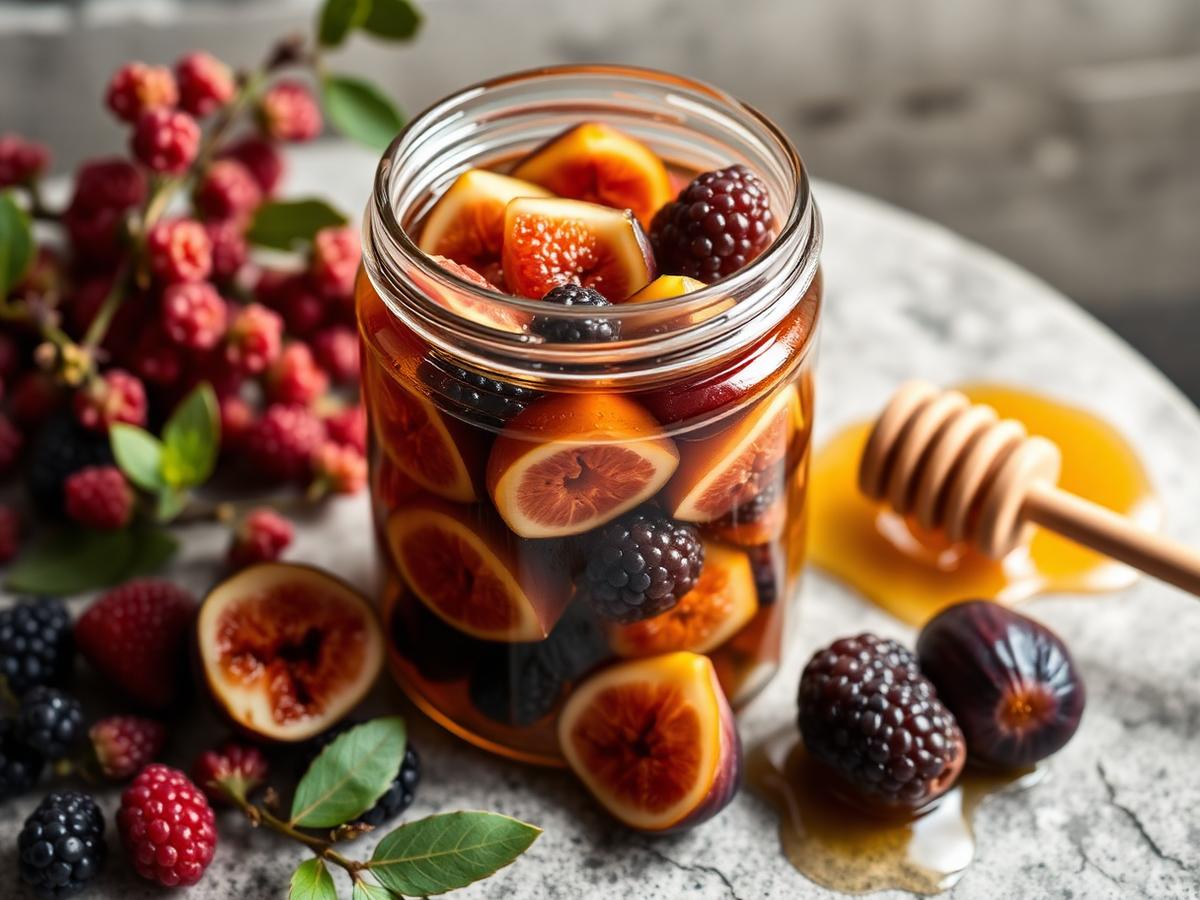
Honey-Preserved Fruit — Rediscovering an Ancient Kitchen Idea
Fruit macerated in honey is one of the oldest ideas in the kitchen. Here's what honey really does, what it doesn't, and how to do it safely today.
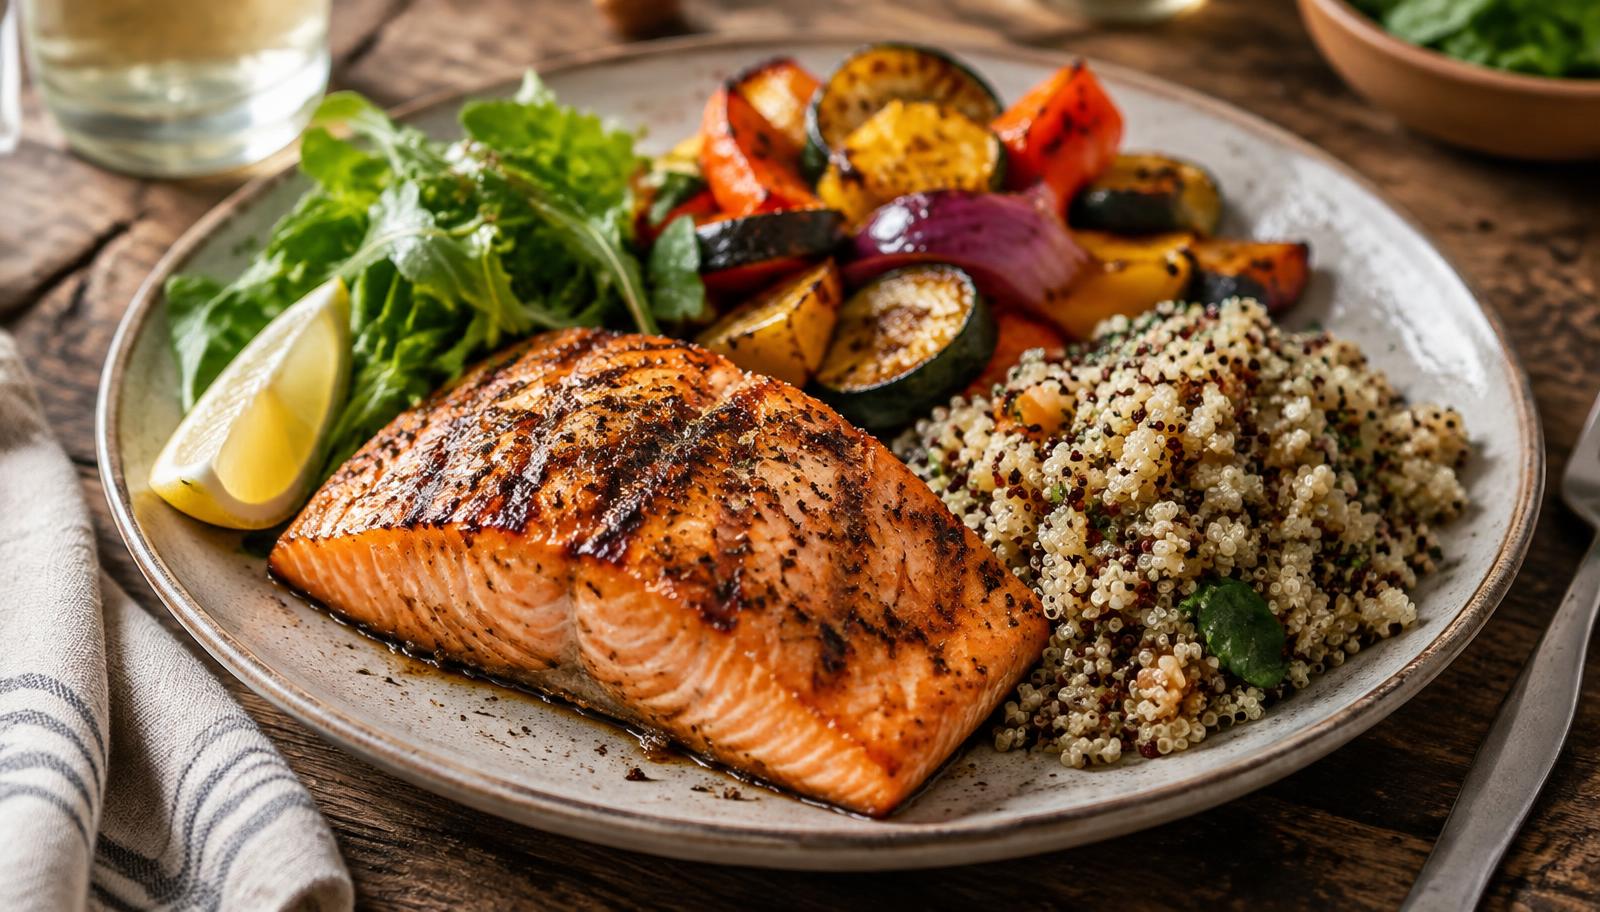
Building High-Protein, Gluten-Free Meals That Actually Fill You Up
A practical framework for assembling bowls with 30g+ of protein, no gluten, and enough fibre to keep energy steady.